By Carmel Schvartzman
In this tutorial we'll learn how to download, install and use a jqGrid connected to an OData REST Web Service. We'll use an online WCF OData REST application in Asp.Net MVC, with support for HTTP GET requests, to AJAX feed a Trirand jqGrid supporting sorting, paging, and searching. The OData (Open Data) protocol is a REST protocol which supports all CRUD operations (Create - Read - Update - Delete) against resources exposed as data services endpoints. For this tutorial, we'll make use of an OData REST service that will handle ONLY HTTP GET requests.
We'll want to deploy a jqGrid using an MVC web site, but this asp.net environment is not required, because the jqGrid can be displayed in any HTML web site :

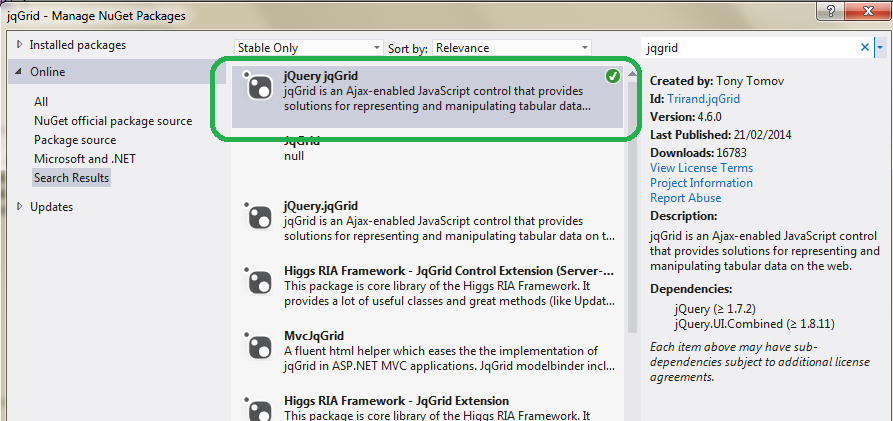
First of all , we need to download and install the jqGrid from Trirand, so open the NuGet manager and do it:
Then create a simple MVC View and add the following links to the top (provided that the jquery.js files come with the _Layout) :

The data will be loaded from an OData web service located at the following location:
http://carmelwebapi.somee.com/ODATA/BlogDataService.svc/Blogs
The data comes in ATOM xml format, meaning that the root will be "feed" and the relevant elements will be "entry" elements :

Therefore, the jqGrid settings will contain an XMLREADER object, setting the specified root and row items:
xmlReader: {
root: "feed",
row: "entry",
repeatitems: false,
id: "BlogID",
},
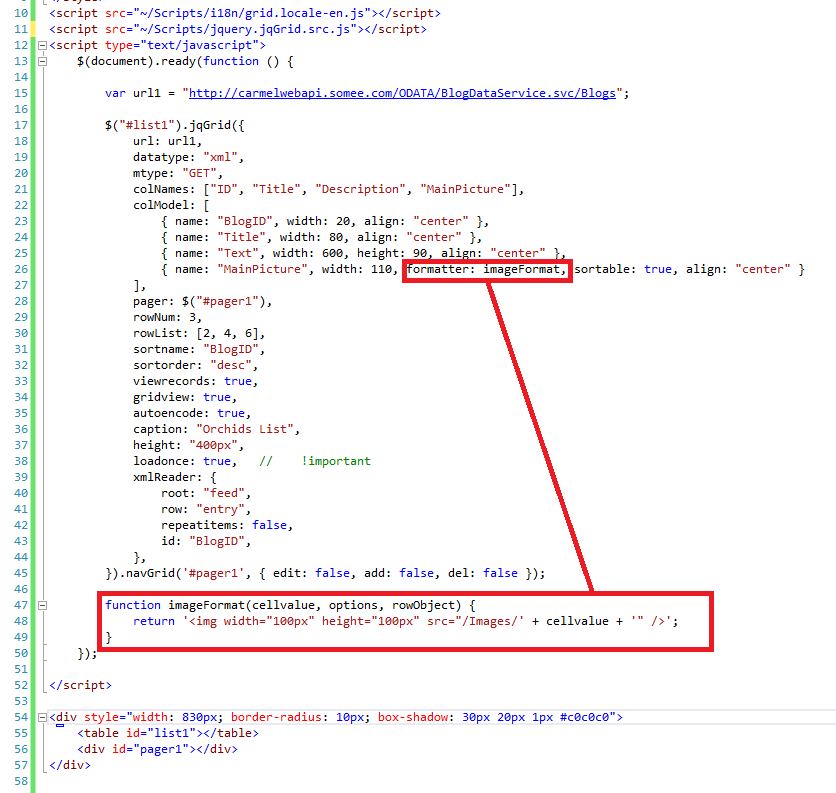
The jqGrid complete settings will be as follows:

The code to copy/paste is this:
<script src="~/Scripts/i18n/grid.locale-en.js"></script>
<script src="~/Scripts/jquery.jqGrid.src.js"></script>
<script type="text/javascript">
$(document).ready(function () {
var url1 = "http://carmelwebapi.somee.com/ODATA/BlogDataService.svc/Blogs";
$("#list1").jqGrid({
url: url1,
datatype: "xml",
mtype: "GET",
colNames: ["ID", "Title", "Description", "MainPicture"],
colModel: [
{ name: "BlogID", width: 20, align: "center" },
{ name: "Title", width: 80, align: "center" },
{ name: "Text", width: 600, height: 90, align: "center" },
{ name: "MainPicture", width: 110, formatter: imageFormat, sortable: true, align: "center" }
],
pager: $("#pager1"),
rowNum: 3,
rowList: [2, 4, 6],
sortname: "BlogID",
sortorder: "desc",
viewrecords: true,
gridview: true,
autoencode: true,
caption: "Orchids List",
height: "400px",
loadonce: true, // !important
xmlReader: {
root: "feed",
row: "entry",
repeatitems: false,
id: "BlogID",
},
}).navGrid('#pager1', { edit: false, add: false, del: false });
function imageFormat(cellvalue, options, rowObject) {
return '<img width="100px" height="100px" src="/Images/' + cellvalue + '" />';
}
});
</script>
<div style="width: 830px; border-radius: 10px; box-shadow: 30px 20px 1px #c0c0c0">
<table id="list1"></table>
<div id="pager1"></div>
</div>
I remarked some very important parts of the code in red.
As you see, we needed to use a formatter in order to format the image in the grid. The formatter works together with a method:
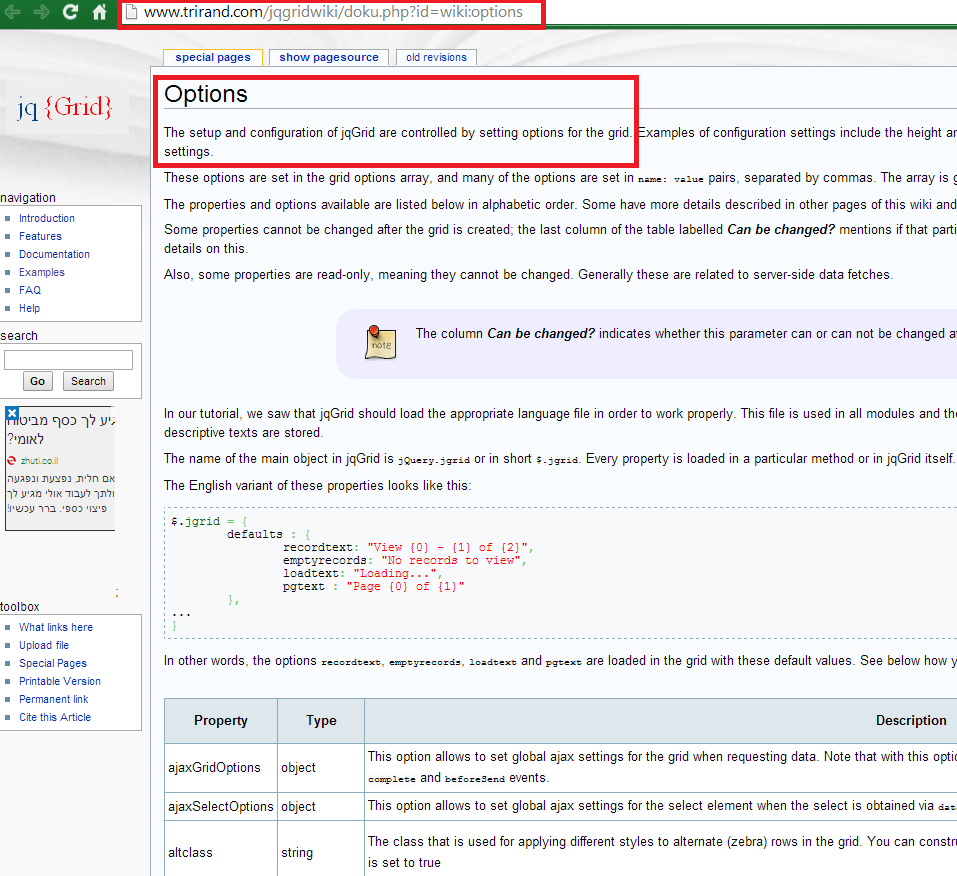
The complete reference of the jqGrid are in the Trirand web site :
Build and run the project, and check the paging support of the web grid:

And also the sorting :

And the searching:

Search for some info:

To find the jqgrid works really fine:

In this tutorial we've learned how to create a jqGrid connected to an OData Web Service.
That's all!!
Happy programming.....
כתב: כרמל שוורצמן
No comments:
Post a Comment