By Carmel Schvartzman
In this tutorial we'll learn how to customize Images with the Twitter Bootstrap Version 3. The Bootstrap includes many components for you to import to your web page with a minimal effort and with maximal responsiveness and well design, which can be displayed on a responsive grid system that scales up to 12 <div>s columns, and adapts itself to the device when size decreases.Bootstrap is the more widely used and more popular CSS3 open source framework for developing responsive web apps, making front-end web design very fast and easy.
We suppose here that you have already installed the Twitter Bootstrap in your MVC app. If you don't, learn in this tutorial how to install it in just 2 minutes.
In just 5 minutes we'll build a responsive web page using the Images of the Twitter Bootstrap , with no effort at all:

The Twitter Bootstrap can be reached & downloaded from the Bootstrap official site : Bootstrap :

Using the Twitter Bootstrap Images
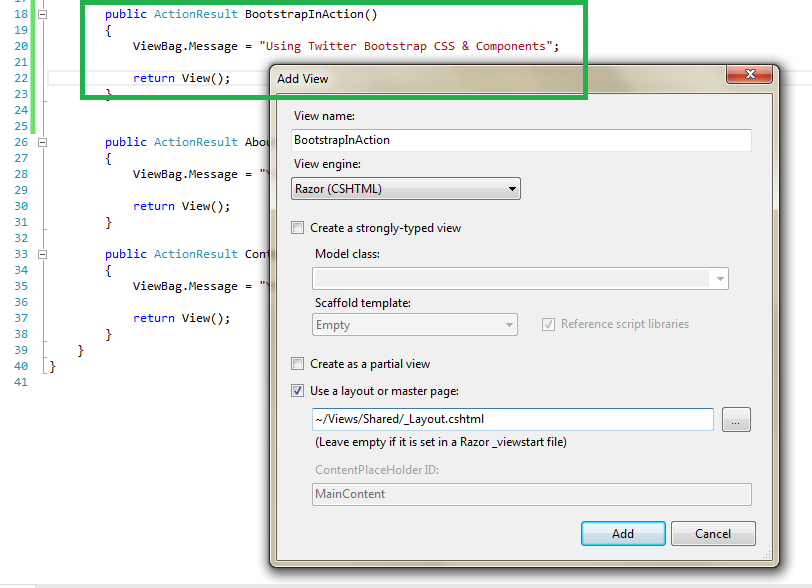
First we add a new Action method & a View to test the Bootstrap :
Now we'll go COPYING-PASTING the HTML markup from the Bootstrap official web site, to reuse it on our web page.
Go to the Bootstrap and copy the Images HTML markup :

Then paste it inside your MVC View:

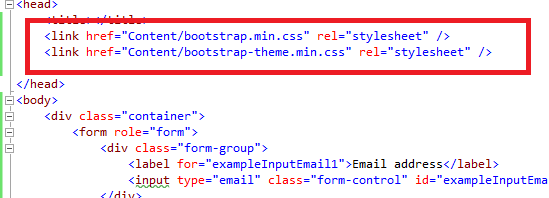
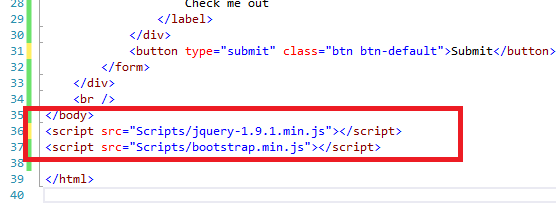
( Verify that you have set the necessary links to CSS and jQuery scripts ) :
Save & refresh the web page :
That's all!! In this tutorial we've learned how to use the Bootstrap 3 Images of the Twitter Bootstrap. There are more components, and there will be many more in the future. This tutorial does not intends to survey all components, but give you the tools for you to continue exploring them on your own.
Happy programming.....
כתב: כרמל שוורצמן
Your work is great it provides me great knowledge.
ReplyDeleteBootstrap Studio