In this post we describe Step by step How to code a jQuery Plugin for HTML Form with Radio Buttons.
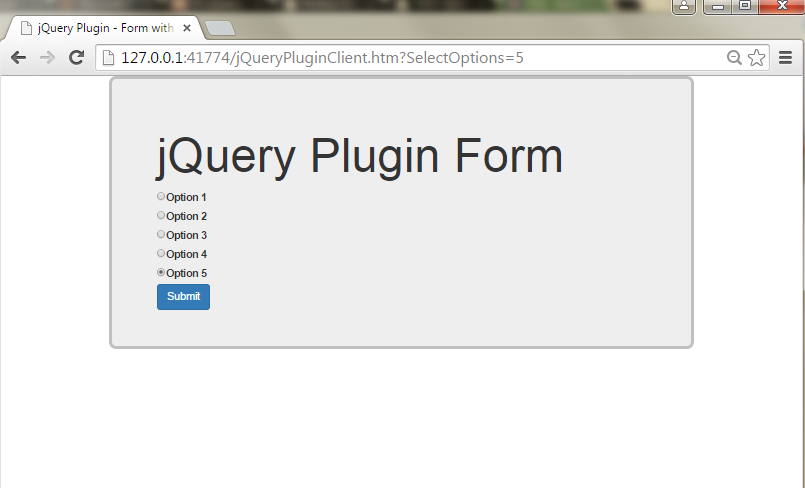
In this article we create from scratch a small jQuery Plugin which displays an HTML Form with radiobuttons inputs and Twitter Bootstrap CSS3 style .This jquery plugin will display an HTML5 form as the following:
How to create a jQuery Plugin for HTML Form with Radio Buttons
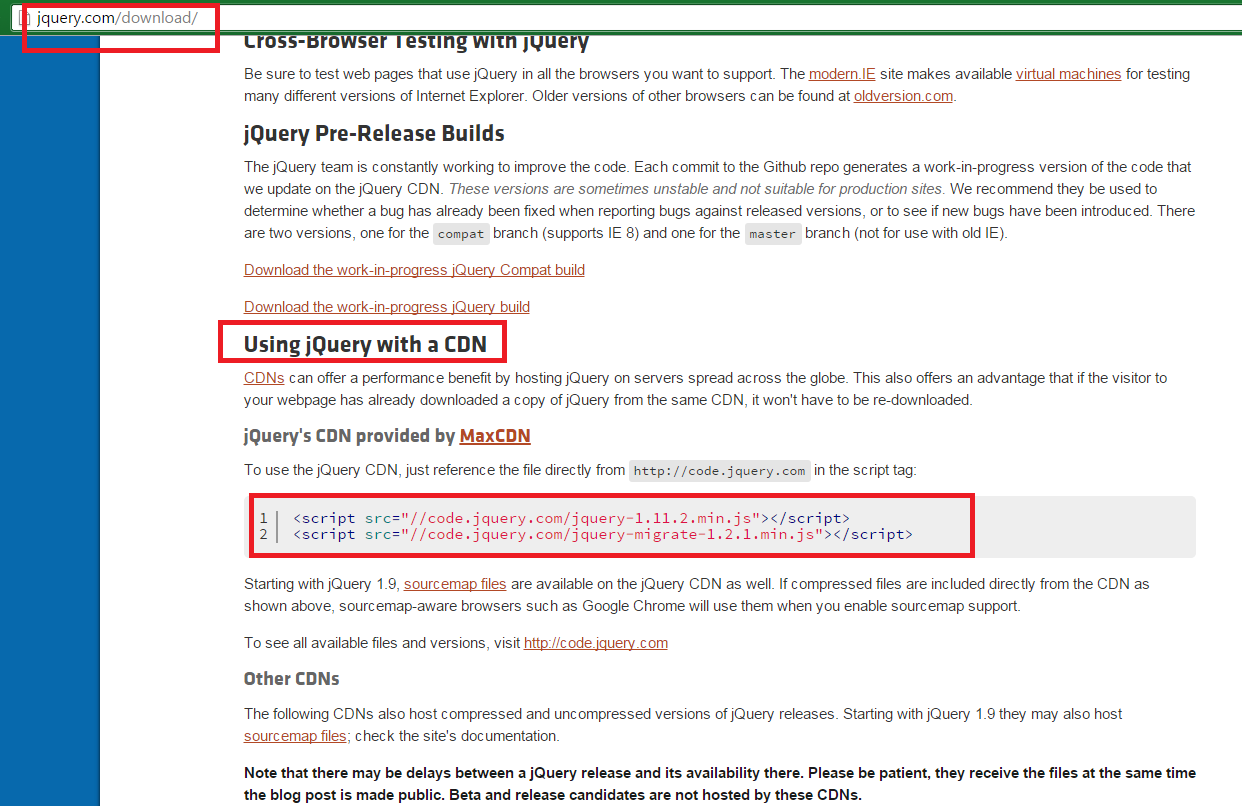
First , we need the jQuery and the Bootstrap files, so browse to http://jquery.com/download/ and get the latest version of the framework in CDN(Content Delivery Network):
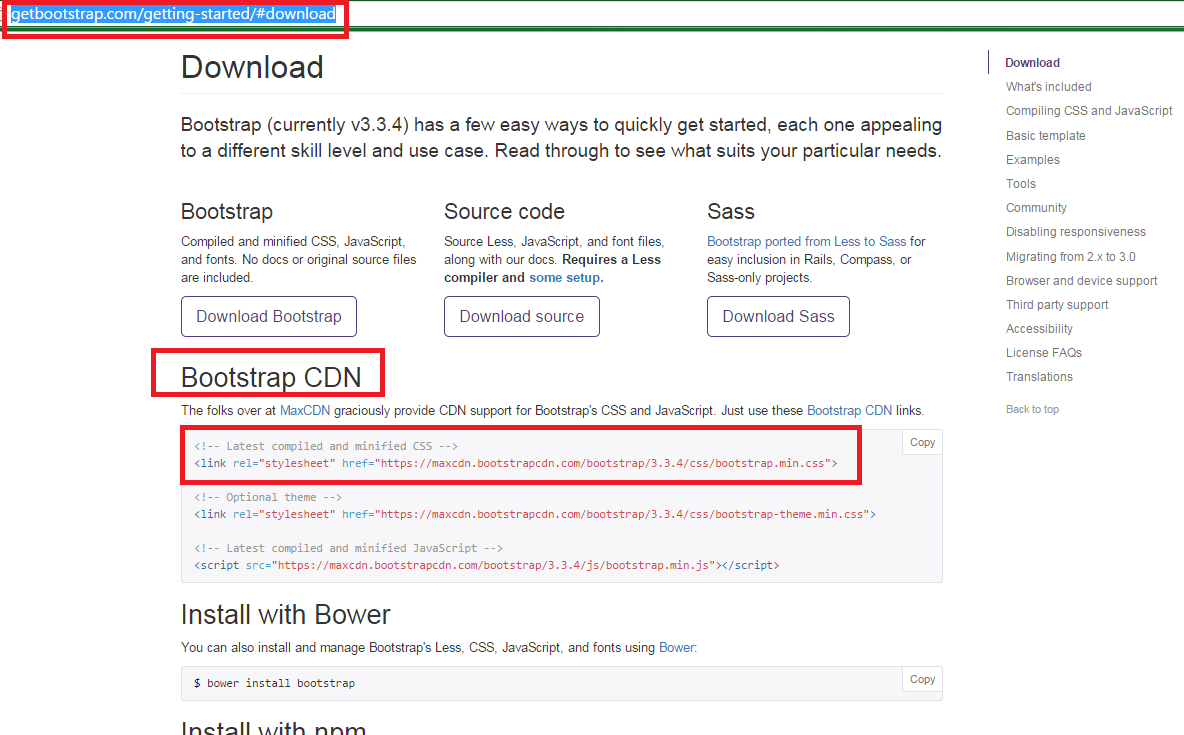
Do the same to get the CSS3 Bootstrap style from the Bootstrap's official web site:
Add it to a new HTML5 file at the "head" element :
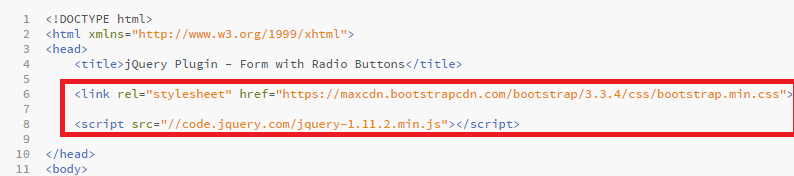
Also inside the "head" tag, add two new files: one a CSS which will contain some style, and the other one will be our jQuery plugin:
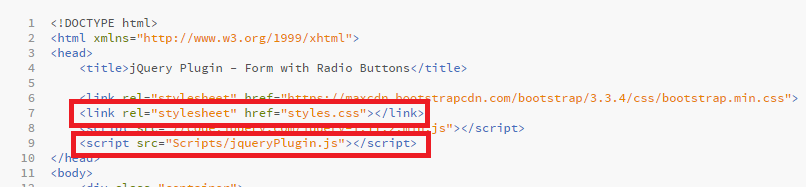
The complete code for this tutorial can be downloaded from this GitHub repository:
Next, let's write a div to contain the web Form produced by our jquery plugin:

After the body, append a script element , where we'll next call our plugin:

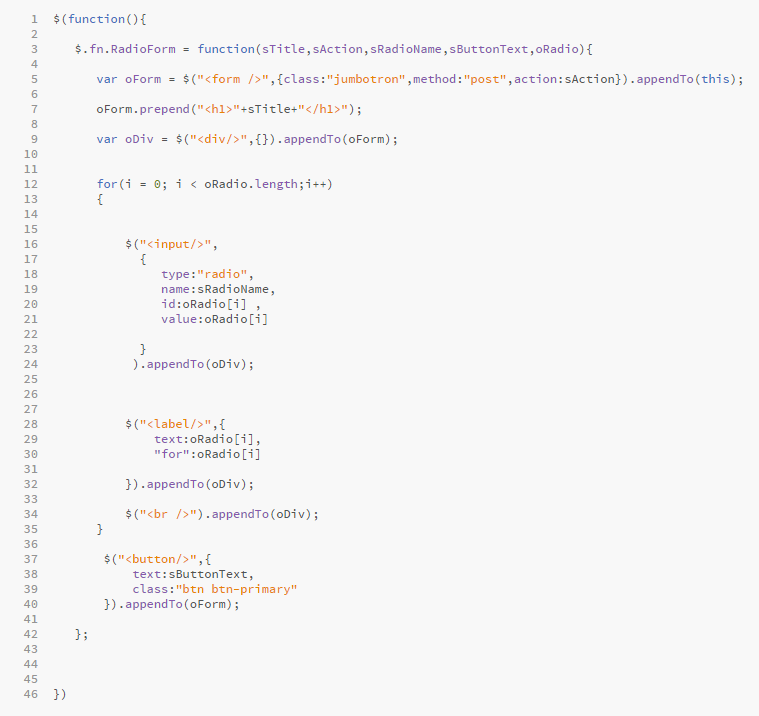
Now, open the "jqueryplugin.js" javascript file and create the plugin definition as follows:

As you can see, we added some parameters to set the HTML Form.
The most important of them is "oRadio", which is a string array holding the texts for the radio buttons.
Since "this" represents here the container <div>, we append to it a "form" element this way:

Then we take the form reference and add an <h1> Title and a <div> for containing the radio buttons.
Now, because the "oRadio" object is an array, we loop through it with a "for" , appending to the <div> an <input> of "radiobutton" type for each text in the array:
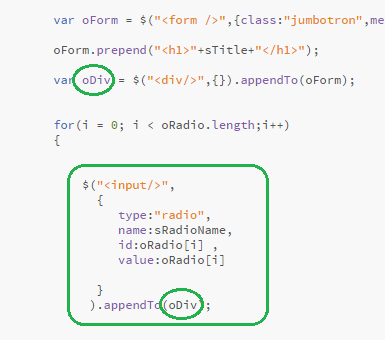
We add also the corresponding text:


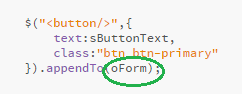
After the "for" loop, we append a button to the form:
The complete javascript file should appear as follows:
This is the code to copy-paste:
$(function(){
$.fn.RadioForm = function(sTitle,sAction,sRadioName,sButtonText,oRadio){
var oForm = $("<form />",{class:"jumbotron",method:"post",action:sAction}).appendTo(this);
oForm.prepend("<h1>"+sTitle+"</h1>");
var oDiv = $("<div/>",{}).appendTo(oForm);
for(i = 0; i < oRadio.length;i++)
{
$("<input/>",
{
type:"radio",
name:sRadioName,
id:oRadio[i] ,
value:oRadio[i]
}
).appendTo(oDiv);
$("<label/>",{
text:oRadio[i],
"for":oRadio[i]
}).appendTo(oDiv);
$("<br />").appendTo(oDiv);
}
$("<button/>",{
text:sButtonText,
class:"btn btn-primary"
}).appendTo(oForm);
};
})
Now we add the following style to the "styles.css" file:
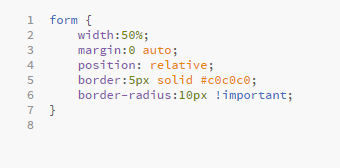
form {
width:50%;
margin:0 auto;
position: relative;
border:5px solid #c0c0c0;
border-radius:10px !important;
}
And, back at the HTML file, we use the plugin to insert the runtime html form inside the container <div>:

The complete HTML5 file should be as follows:

This is the code :
<!DOCTYPE html>
<html xmlns="http://www.w3.org/1999/xhtml">
<head>
<title>jQuery Plugin - Form with Radio Buttons</title>
<link rel="stylesheet" href="https://maxcdn.bootstrapcdn.com/bootstrap/3.3.4/css/bootstrap.min.css">
<link rel="stylesheet" href="styles.css"></link>
<script src="//code.jquery.com/jquery-1.11.2.min.js"></script>
<script src="Scripts/jqueryPlugin.js"></script>
</head>
<body>
<div class="container">
<div id="myDiv"></div>
</div>
</body>
<script>
$(function(){
$("#myDiv").RadioForm("jQuery Plugin Form"," ",
"RadioOptions","Submit",
["Option 1","Option 2","Option 3","Option 4","Option 5"]);
});
</script>
</html>
And the resulting HTML Form will appear as this:
That's it....Hoping this article was useful to you,
by Carmel Schvartzman
כתב: כרמל שוורצמן
No comments:
Post a Comment