This is the Step by step Bootstrap Tutorial Lesson 2 - Icons and Glyphicons
In this Bootstrap tutorial for Beginners we exemplify the use of FREE Glyphicons, for every kind of screens :iPhone, iPad, Tablets, and desktops...Here we build a fully responsive Mobile First web site for using on four classes of screens: phones, tablets, desktops, and larger desktops.
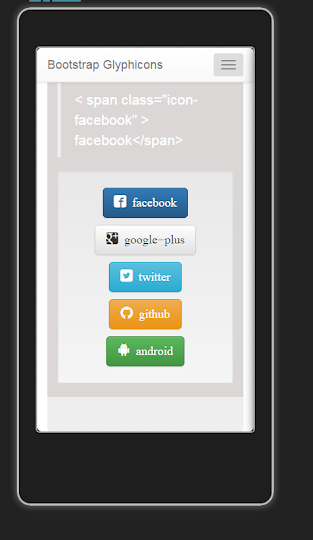
We will add several buttons with Glyphicons to the App, as follows:

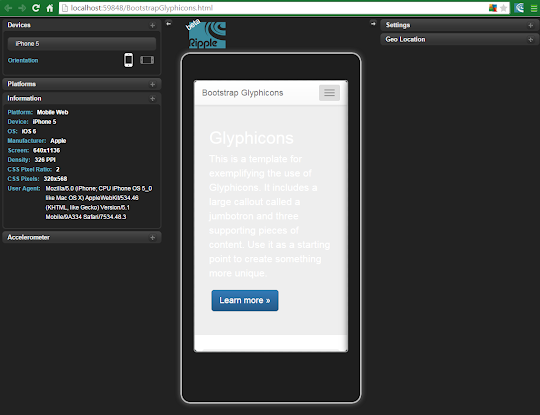
And this is how it looks in a Mobile Emulator, in iPhone 5 display:

Bootstrap Tutorial Lesson 2 - Icons and Glyphicons
On this post we use the Twitter Bootstrap , which also needs the jQuery Framework, so enter the getbootstrap.com web site and the jQuery web site , and get The URLs of the latest versions of the files on CDN . Also , because we will also be using a Mobile Emulator, take a look at this tutorial on setup of the Ripple Emulator.
<script src="//code.jquery.com/jquery-1.11.3.min.js"></script>
<meta name="viewport" content="width=device-width, initial-scale=1">
In case you're working with the Bootstrap template downloaded from www.initializr.com/ as we explained in the previous Tutorial about Bootstrap Templates, leave the Head untouched, and only delete the body contents , leaving also the "Jumbotron" div, therefore will remain a nice NavBar and an introduction.
You can download the complete app from the following GitHub repository:


Now you can use the Glyphicons in your Bootstrap web site.
Let's see how to add the icons to a button.
The following markup creates a Jumbotron box with several buttons:

by Carmel Schvartzman
<link rel="stylesheet" href="https://maxcdn.bootstrapcdn.com/bootstrap/3.3.4/css/bootstrap.min.css">
<link rel="stylesheet" href="https://maxcdn.bootstrapcdn.com/bootstrap/3.3.4/css/bootstrap-theme.min.css">
<script src="https://maxcdn.bootstrapcdn.com/bootstrap/3.3.4/js/bootstrap.min.js"></script>
In case you're working with the Bootstrap template downloaded from www.initializr.com/ as we explained in the previous Tutorial about Bootstrap Templates, leave the Head untouched, and only delete the body contents , leaving also the "Jumbotron" div, therefore will remain a nice NavBar and an introduction.
You can download the complete app from the following GitHub repository:
The next thing to do is to download the FREE Icons from the net.
1) Step #1 : Getting the Glyphicons :
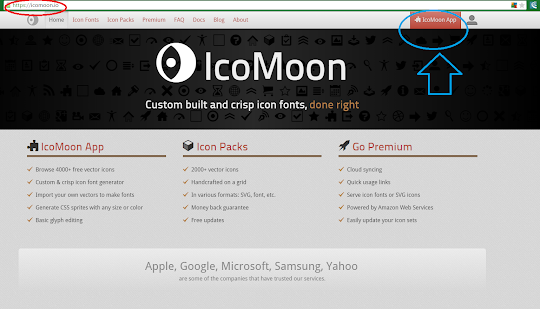
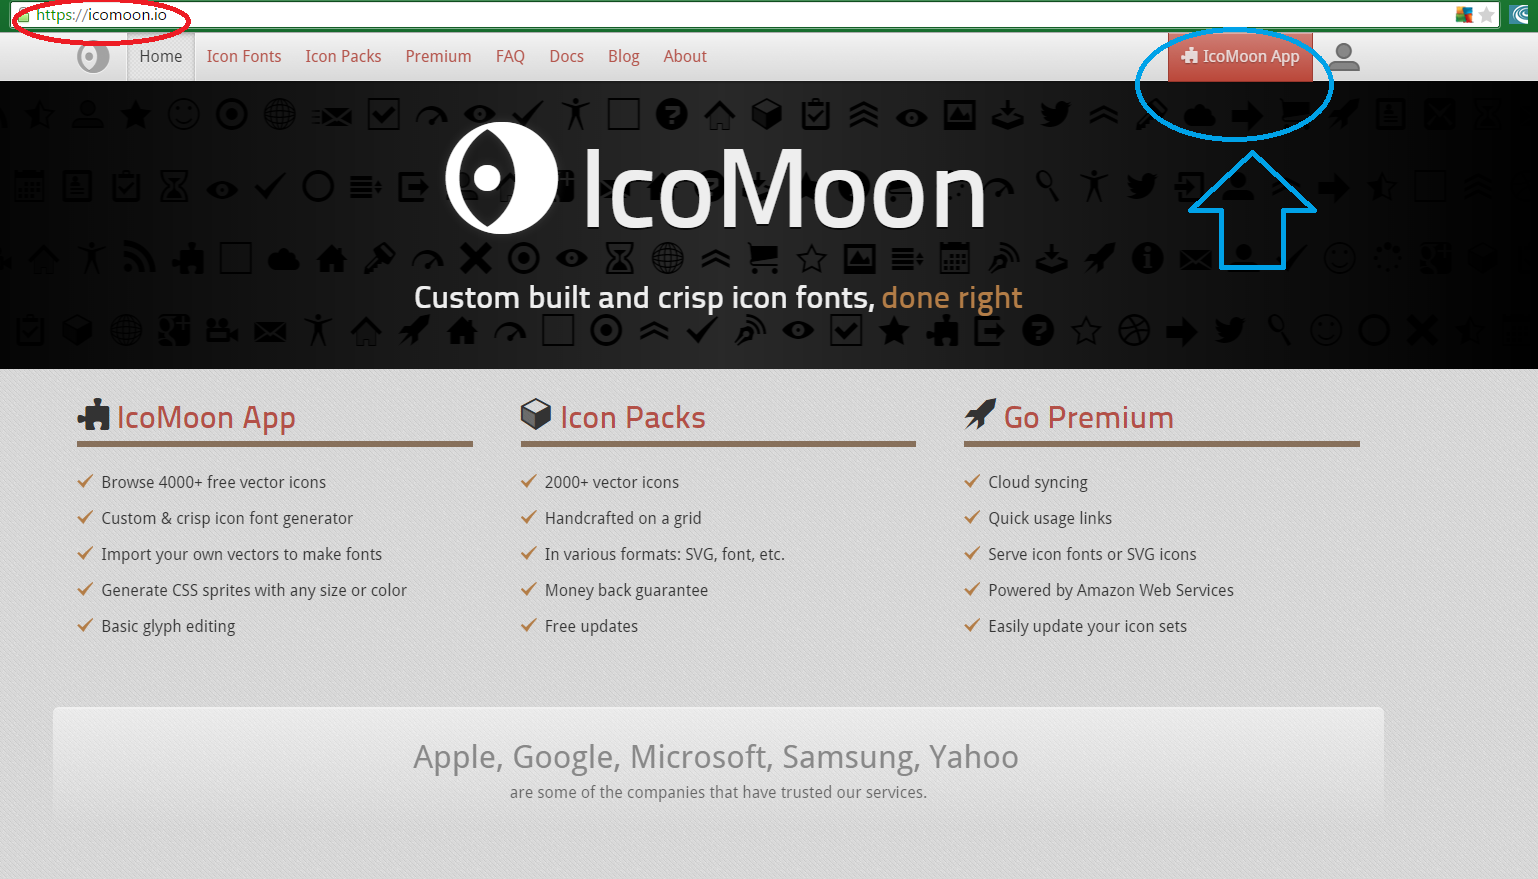
To get the Glyphicons , browse to icomoon.io , and click on the "IconMoon App" button :
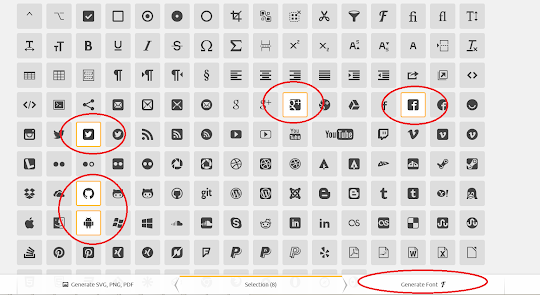
Select all the icons you need, and press the "Generate Font" button like here:

You will get your selection together with the size of the file (in this example, the size is 2.9 KB) :

Click on "Download" and open the .zip file:

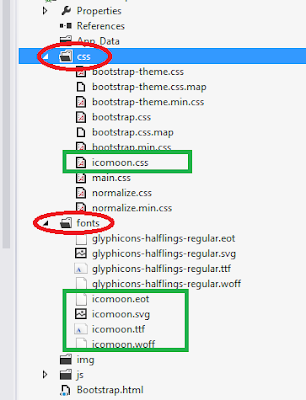
Open the "fonts" folder to see the icons files:

Now copy only the "fonts" folder and the "style.css" file:

And paste them to your project, taking care that the fonts folder is merged with any existent folder file, and also changing the style.css file name to "icomoon.css" , and placing it in the "css" folder:

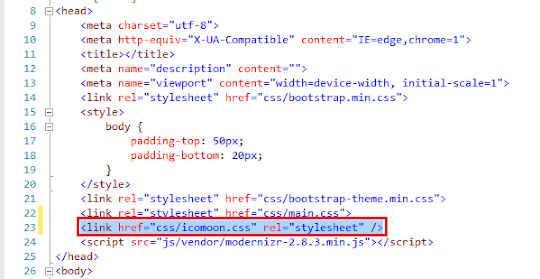
Finally, add the reference to the .css file to the Head of your HTML5 file:

2) Step #2 : Using the Glyphicons :
Now you can use the Glyphicons in your Bootstrap web site.
Let's see how to add the icons to a button.
The following markup creates a Jumbotron box with several buttons:

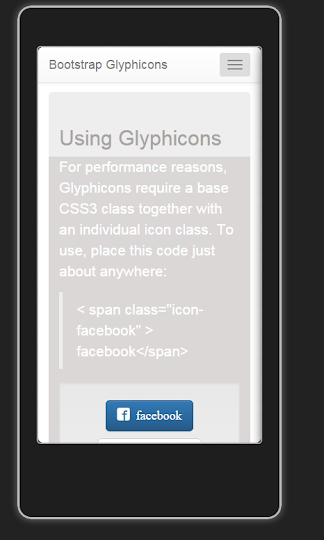
All you have to do to add the icons to the buttons is inserting a <span> element with the Icon Class inside the button.
The names of the icons are given to you while downloading them from the web site. But is good to know that they are inside the style.css file, so you can retrieve them for use.
Now build your project and browse to it, in "iPhone 5" mobile device settings, for example:
The buttons with the Glyphicons are displayed this way:


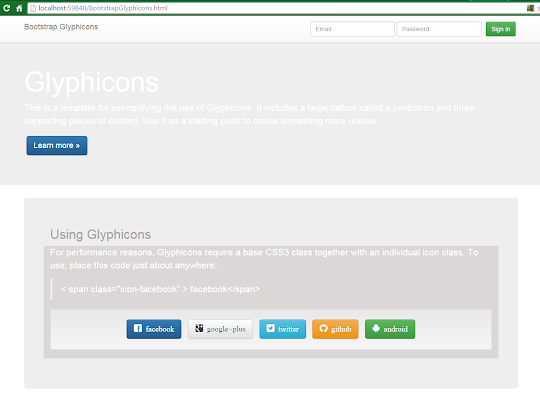
And in desktop resolution, the Glyphicons are shown this way:
by Carmel Schvartzman
כתב: כרמל שוורצמן
No comments:
Post a Comment